Support / Help Center / Admin Help Center / Completing the Livingroom Wizard
Completing the Livingroom Wizard

Roar V. Bovim
CEO & Founder @Livingroom
When you have created your Livingroom account, you will be redirected to the admin wizard. You will also receive a welcome email titled “Welcome To Livingroom” in your mailbox.
NOTE: If you haven’t received any email, please check your spam folder. All Livingroom emails are sent from <app@livingroomanalytics.com> and it’s highly recommended to whitelist Livingroom’s email address for your company’s email domain(s) in order to make sure that emails from Livingroom won’t reach the spam folder. You might need to ask your IT department for help. We have provided a guide for Whitelisting Livingroom Emails.
The Livingroom Wizard will take you through the first basic steps of setting up your company, the first company team and employee, as well as the basic configuration of surveys.
Company Data
Click on the Building/Company icon to start. You will be redirected to the company setup page for setting up the basic company information.
NOTE: After completing the wizard, you can always go back and edit the information and settings you have given in the wizard.
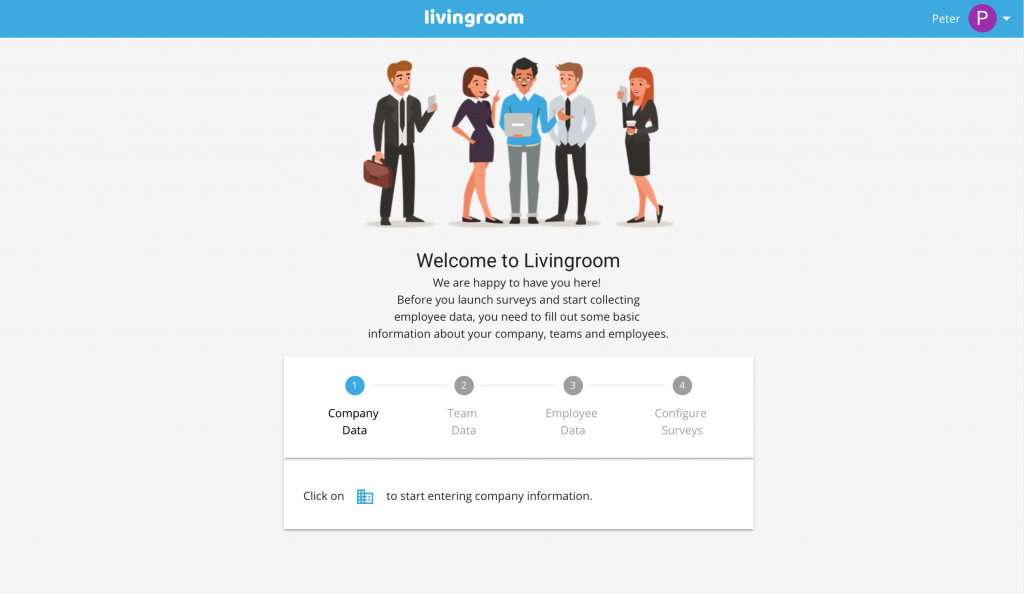
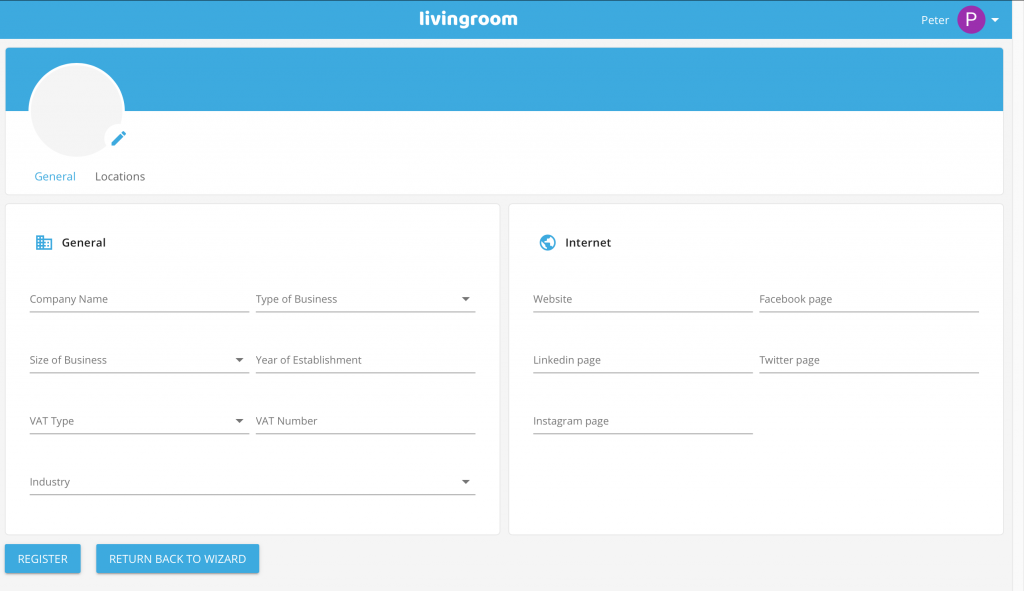
In the company setup page, entering the following information is required:
- Company Name;
- The size of your business;
- VAT type and VAT number;
- The Type of Business, Industry and Year of Establishment (optional);
- Online Company Site (optional);
- Company Logo (optional).
If you need more details for filling up this information, please check the Adding Company Data tutorial.
When you have filled out the information in the General Tab, press the REGISTER button in order to register your company.
Press Return To Wizard to return to the main wizard page.
Team Data
Continue by adding your first company team. Press the 2-people Team icon to go to the team setup page.
NOTE: If you need to take a break and come back later, you can simply close your browser and continue later. Log in again at https://admin.livingroomanalytics.com. Livingroom will remember where you are and you will continue from your last step in the wizard.
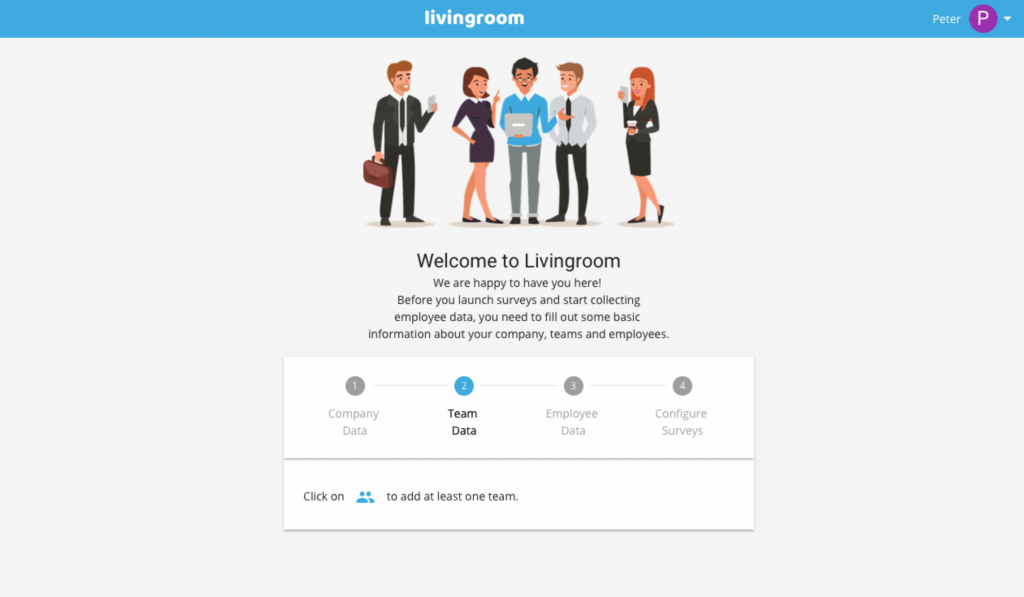
In the team page, click on the person icon in the upper right corner in order to create your first team. You will be redirected to the adding team page.
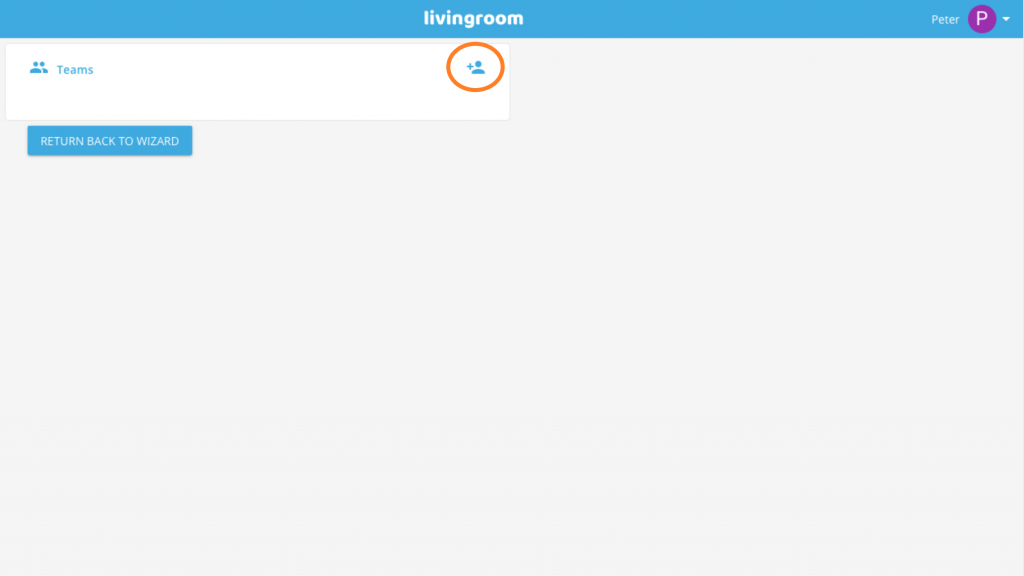
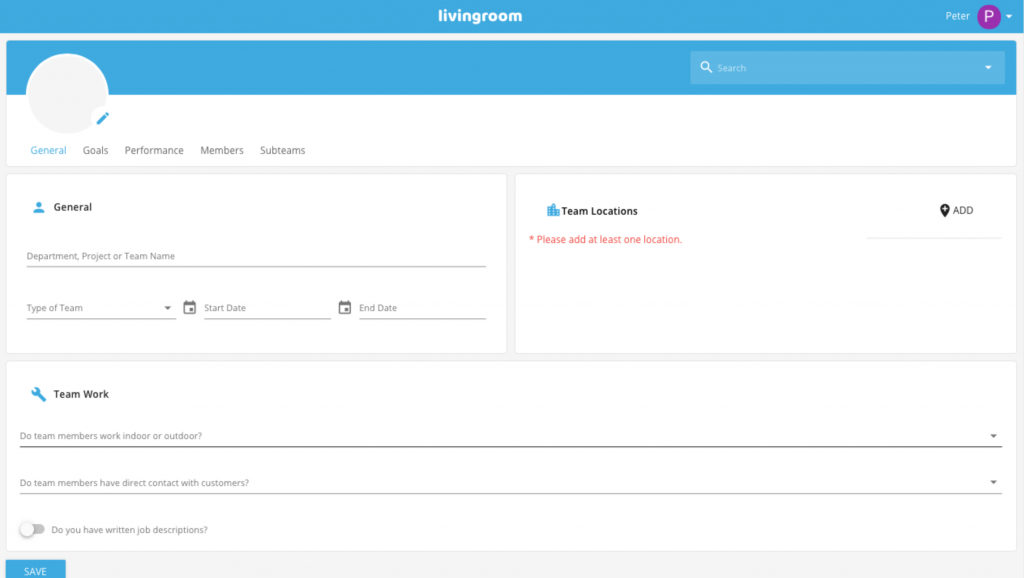
The data fields that are available in Livingroom might look a bit overwhelming at first sight, but don’t worry. By now, you only need to focus on some key data that needs to be entered in order to create your first team.
NOTE: In Livingroom, “team” is the general name for any company team and can represent any type of unit: team, project, workgroup, unit, department, or division.
In order to create your first company team in Livingroom, type in the required information:
- Team name;
- The type of team.
By now, that’s everything you need to fill out. Later on, we will go back to the team and fill out more information (see Adding Teams). Press Save to create your first team and return to the Teams page.
You can now see the newly created team in the teams list. Press Return Back to Wizard, to return to the main Wizard page
Employee Data
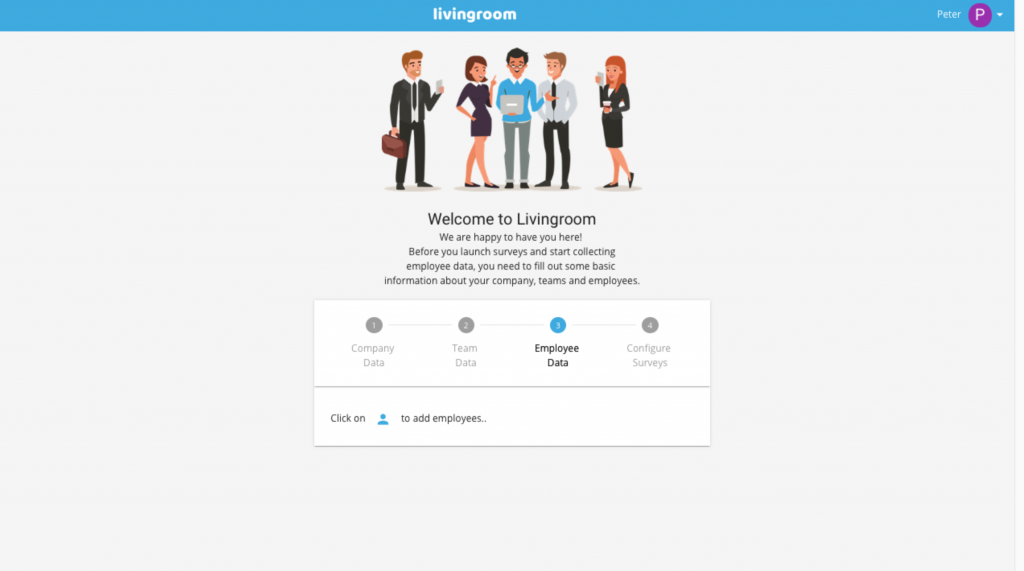
You have now reached step 3 in the wizard and can press the person icon to create your first employee.
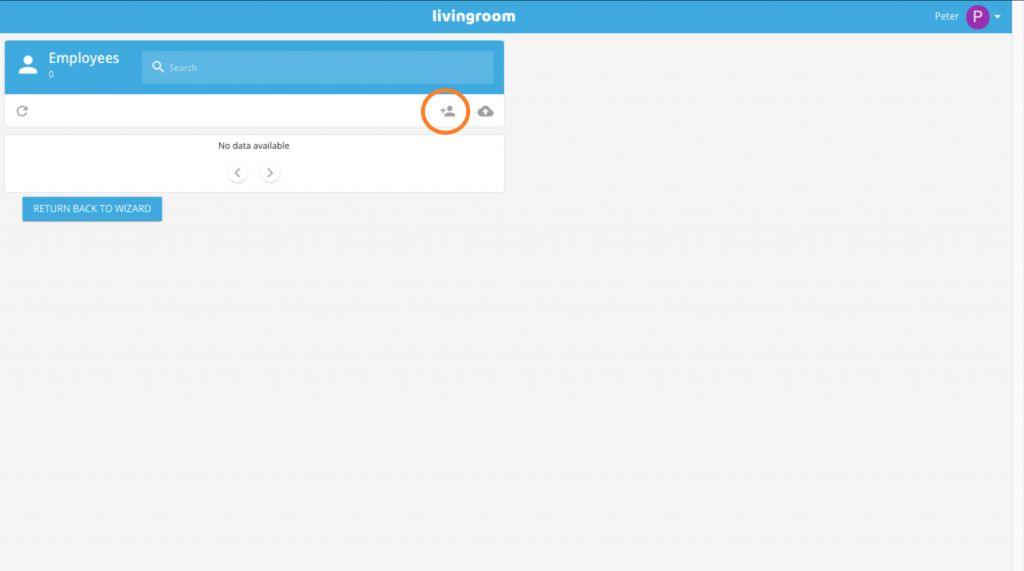
In the employee list, click on the plus-person icon in order to create your first employee.
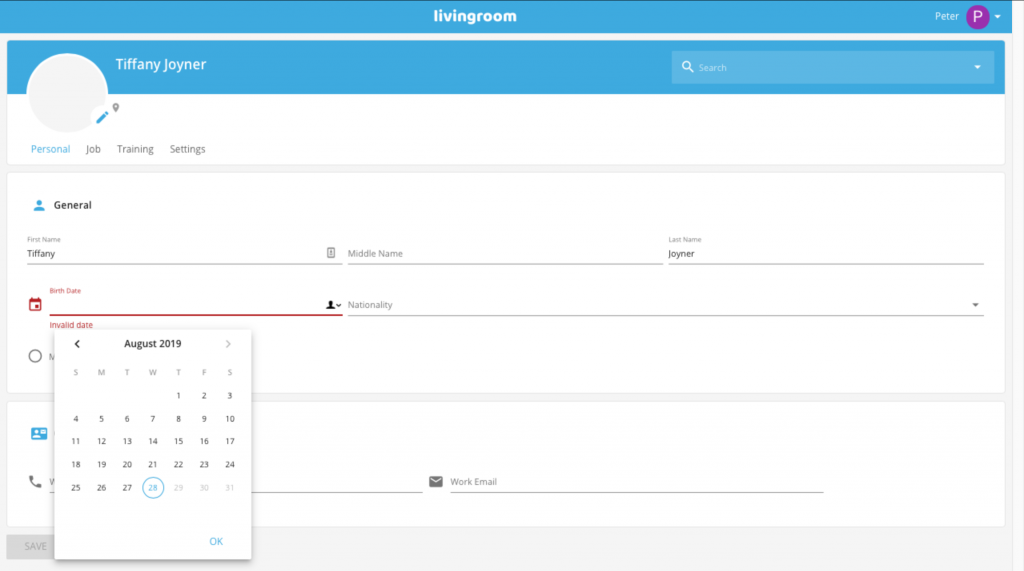
Provide the necessary information in order to create your first employee:
- Employee Name;
- Birth Date;
- Gender;
- Employee Company Email (NOTE: The person will NOT receive an email or invitation by now, it will just be registered as user in your admin portal; NOTE: If the email is already in the Livingroom database, e.g. belonging to another employee in your – or another – company, it will not be accepted. Except the company’s main Admin Email, which also might be used as an employee email, Livingroom does not accept duplicate emails to exist).
If you need more details for filling up this information, please check the Adding Employee Data tutorial.
Press the Save button to create the employee and return to the Employee List Page.
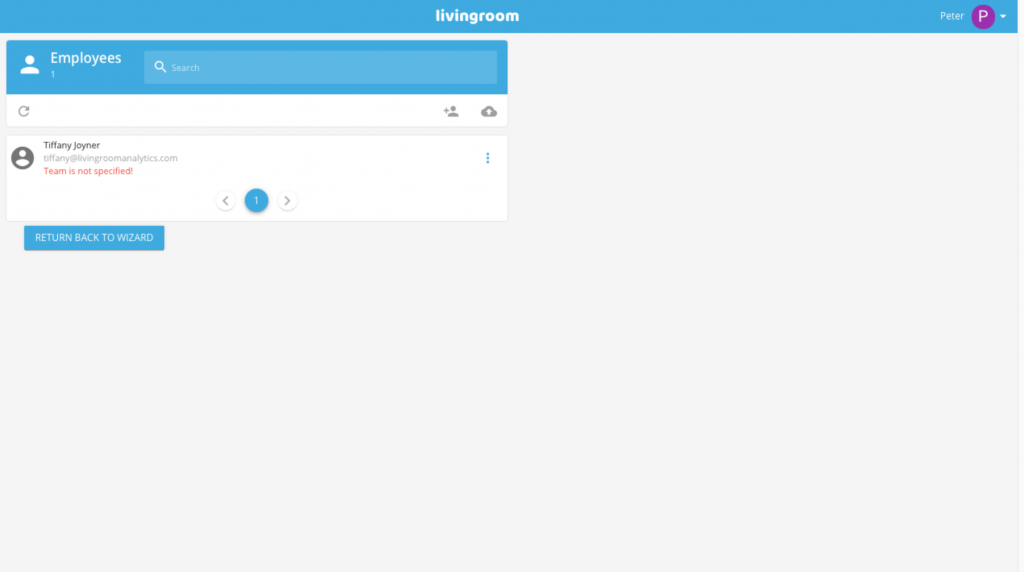
Don’t worry if there is a red comment “Team is not specified!” on the employee record. If you did not specify the team of the employee, this text is showing. However, you can always return to the employee later on and update the employee with the right team. Press Return To Wizard to return to the main wizard page.
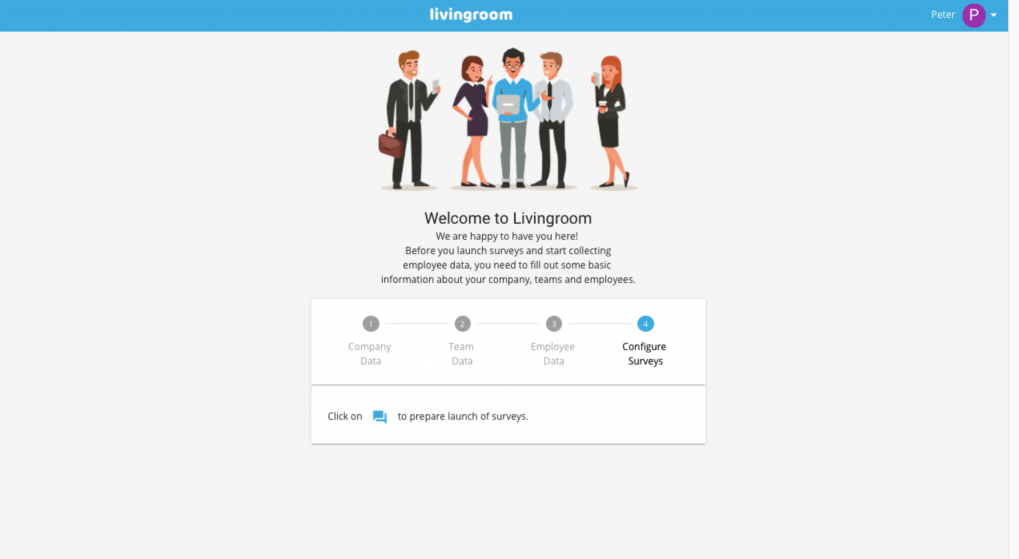
Configure Surveys
You have now reached the fourth and last step in the wizard. Press the speech bubble icon to configure surveys.
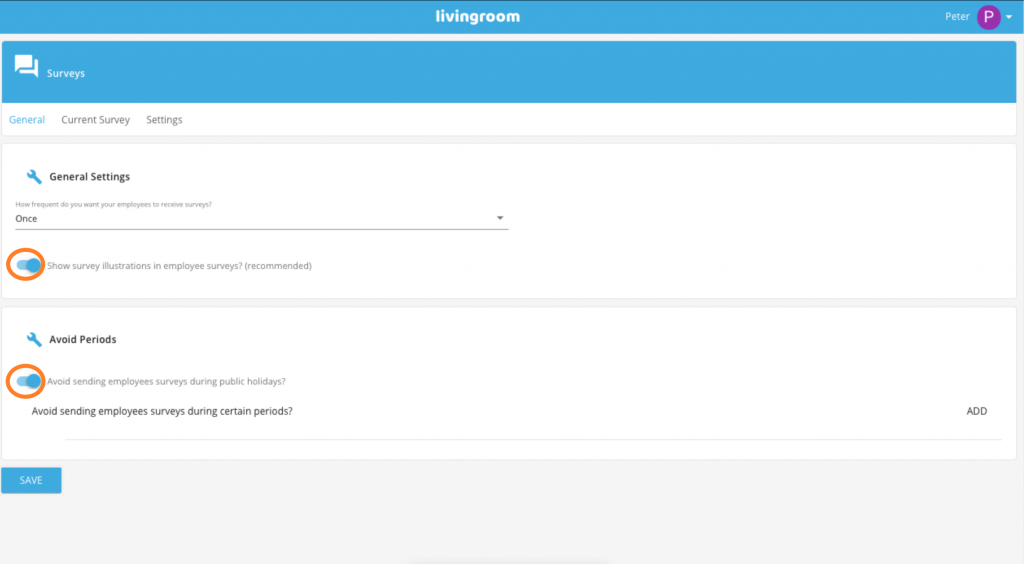
We recommend that you turn on the following settings (by clicking on the switch next to them) , although it is not necessary for you to proceed:
- Show survey illustrations in employee surveys;
- Avoid sending employee surveys during public holidays.
NOTE: you should return to these settings later and update the survey settings before you launch your first survey.
Press Save to save the information and complete the Livingroom Wizard.
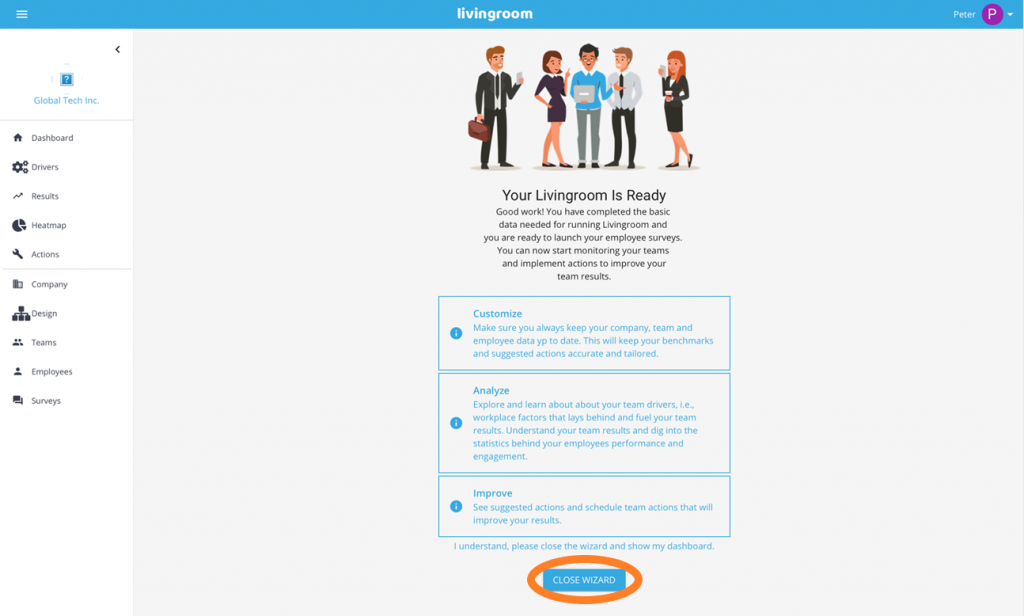
You will see the Livingroom Welcome page. Read the text and press Close Wizard to close the wizard (you might have to scroll down to see the Close Wizard button).
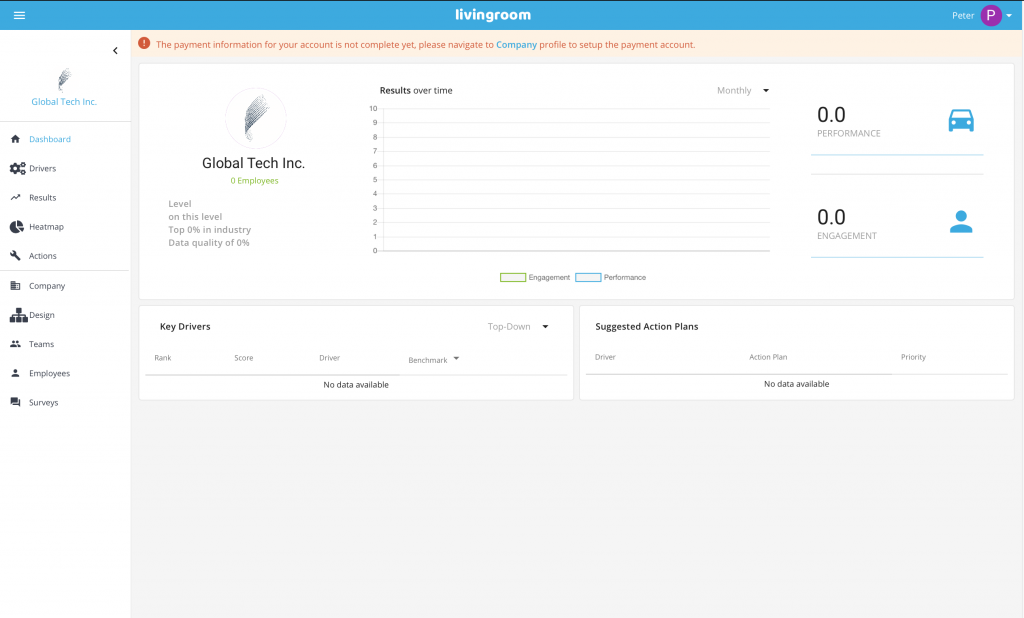
When you close the wizard, you will see the dashboard page of your company. Livingroom is not yet fully set up and you haven’t run any surveys, so the results are empty. Soon, Livingroom will also show top yellow line with the text “The payment information for your account is not complete yet, please navigate to Company profile to set up the payment account”. When we have set up your company payment information, this line will disappear.
